
Last updated November 2, 2026
 Wrought iron
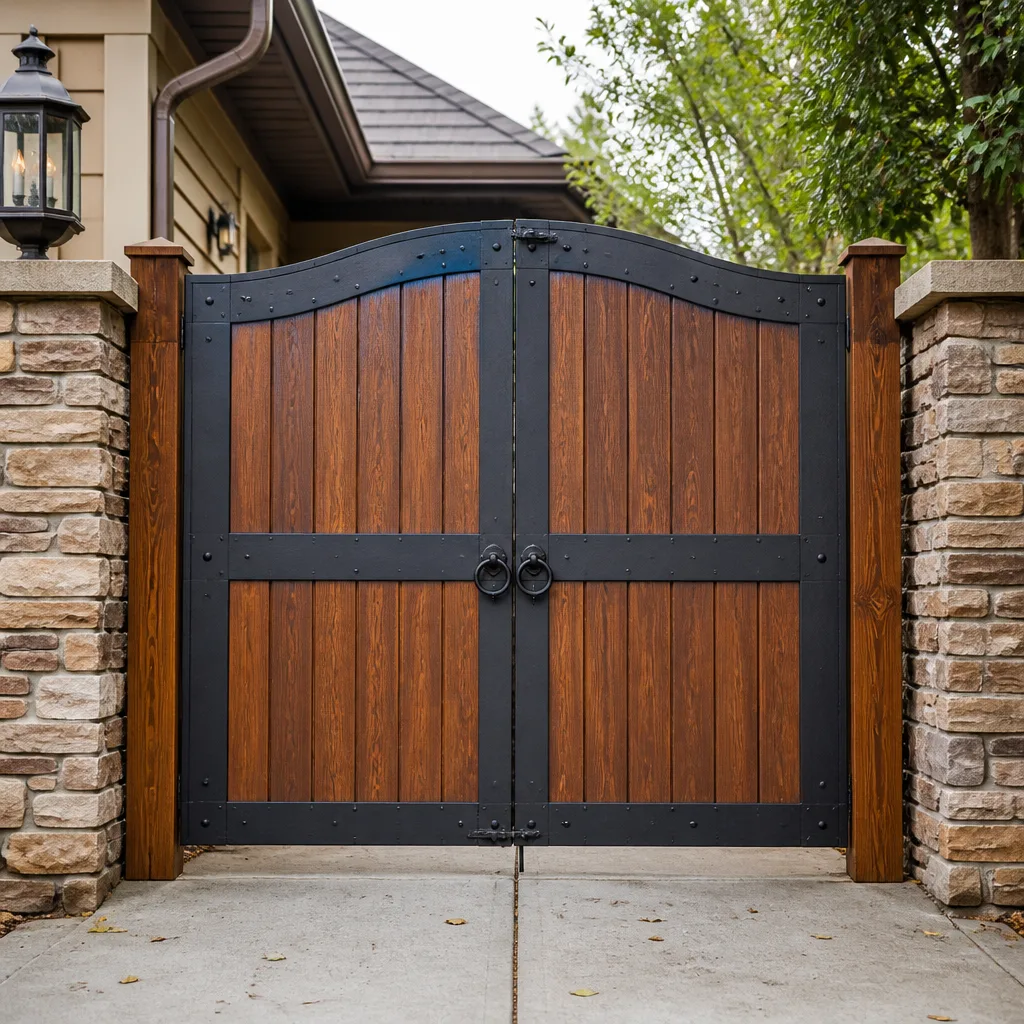 Wood & steel frame
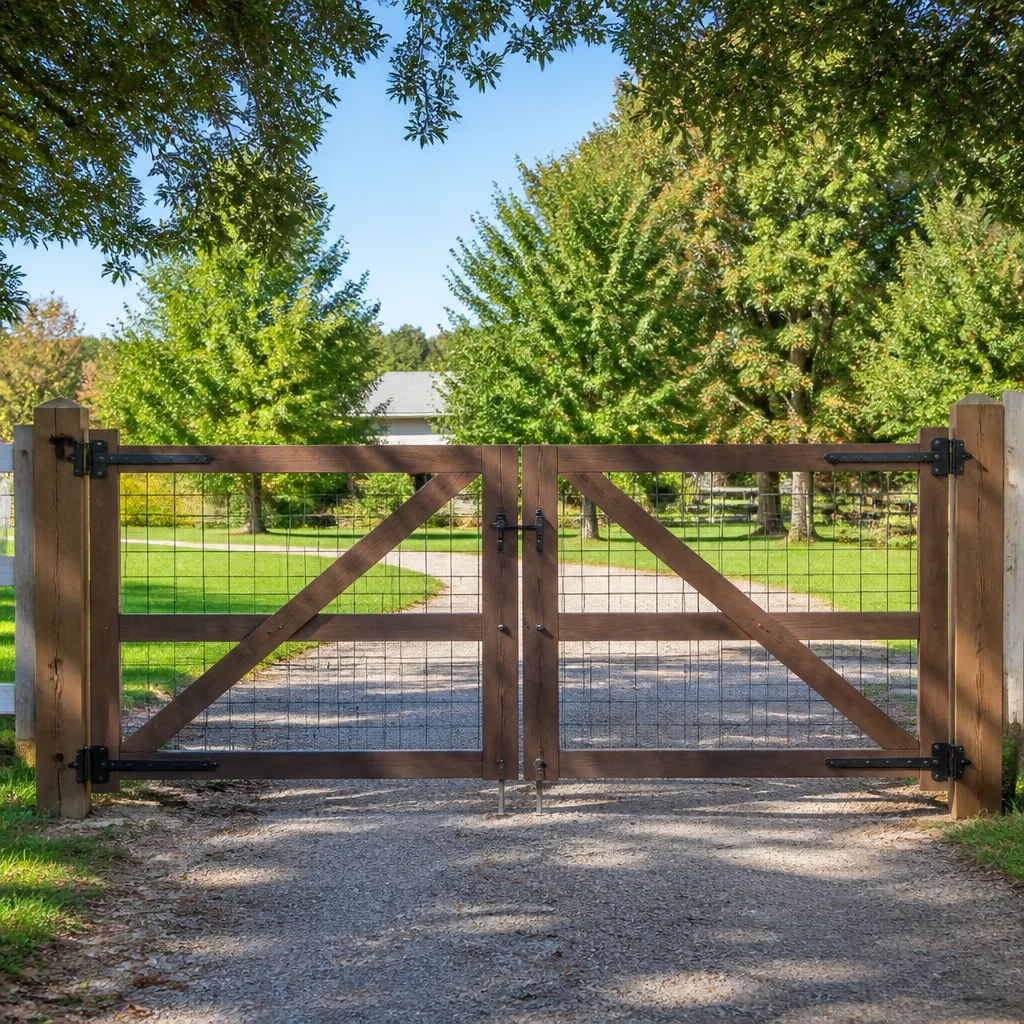 Farm & ranch
 Sliding driveway gates
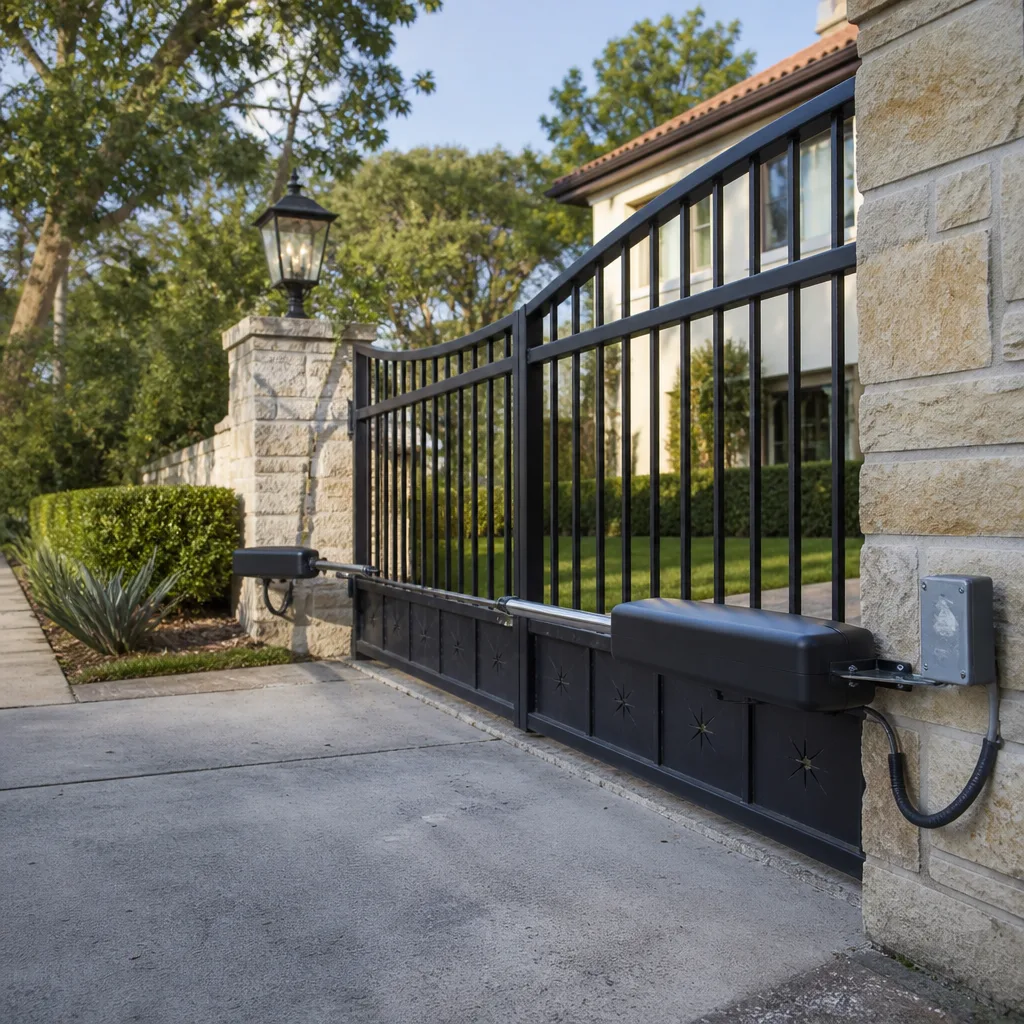 LiftMaster operators
Free on-site gate assessment - hinges, posts, and your LiftMaster or Nice gate operator checked before anything is quoted
The assessment is free and the quote is the invoice.
Get your free estimateGate Repair Maintenance Checklist for Mission Viejo Homeowners
Most gate failures we see in Mission Viejo don’t start with a broken motor. They start with a skipped five-minute task. A Gate Repair Mission Viejo technician knows this pattern well: the homeowner hears a grind, notices a sag, ignores a slower-than-normal open cycle, and six weeks later the gate is dead on a Saturday morning. The surprising part is that roughly eight of every ten emergency calls we run trace back to a maintenance item that costs less than $20 in parts or 15 minutes of attention. This guide gives you the exact monthly and quarterly checklist we use ourselves when servicing automatic and manual gates across Mission Viejo, organized by the components that actually fail here: photo-eyes, hinges, drive gears, battery backups, and powder-coat finishes. If you own a LiftMaster, FAAC, BFT, Linear, Viking, Ghost Controls, DoorKing, Elite, or Mighty Mule system, this is the page worth bookmarking.
Styles & brands we work with
- Wrought iron
- Wood & steel frame
- Farm & ranch
- Sliding driveway gates
- LiftMaster operators
Quick Answer
A gate maintenance checklist for Mission Viejo homeowners should cover monthly tasks like cleaning photo-eye lenses, lubricating hinges, checking chain or belt tension, and testing the operator’s force settings, plus quarterly tasks like inspecting powder-coat integrity, testing battery backup voltage with a multimeter, and logging cycle counts. Doing these 12 items consistently prevents most emergency gate repairs before they happen, though our Gate Repair services are always available if you need professional help.
Table of Contents
- The Monthly Gate Maintenance Checklist: 7 Items That Prevent Most Failures
- The Quarterly Gate Maintenance Checklist for Mission Viejo’s Climate
- Photo-Eye Cleaning: The Most Skipped Task on Automatic Gates
- How to Test a UPS Backup Battery on a Viking or Linear Operator
- What Normal Wear Looks Like on a Drive Gear at 6 Months, 2 Years, and 5 Years
- Powder-Coat Integrity on Iron Gates: Stopping Rust Before It Pits
- The Maintenance Log: Your Best Leverage in a Warranty Claim
- Common Mistakes to Avoid
- When to Call a Professional
- Frequently Asked Questions
- The Bottom Line
The Monthly Gate Maintenance Checklist: 7 Items That Prevent Most Failures
Monthly maintenance on a Mission Viejo gate takes about 20 minutes and requires no specialized tools beyond a clean rag, a can of spray lubricant, and a pair of eyes that know what to look for. The goal isn’t to fix anything. It’s to catch small changes before they become repair calls. Here are the seven items we run on every gate we service, in the order they matter most.
- Clean the photo-eye lenses. Use a dry microfiber cloth on both the transmitter and receiver eyes. In Mission Viejo’s dry months, a fine layer of dust settles on these lenses within two weeks. Spider webbing behind the lens is even more common. A dirty eye can cause false reversal signals, and intermittent reversals are the number one misdiagnosed problem on automatic gates. Homeowners assume the board is failing, replace an expensive control board, and the gate still reverses because nobody wiped the lens.
- Lubricate hinge points. Apply a silicone-based or lithium spray lubricant to every hinge pivot on swing gates, and to the roller wheels and track on slide gates. You’re looking for smooth, quiet movement. If a hinge squeaks, binds, or shows metal-on-metal wear, address it now. A binding hinge forces the operator to work harder on every cycle, which shortens motor life and can shear the drive gear.
- Check chain or belt tension. On chain-driven slide gates, the chain should deflect about a half-inch when pressed with moderate thumb pressure in the middle of its run. On belt-driven operators, look for slack that allows the belt to skip or ride up on the pulley. Mission Viejo’s temperature swings between cool mornings and hot afternoons can loosen chains slightly over time, and a loose chain slapping a rail is a telltale sign before it jumps a sprocket.
- Verify limit switch positions. Open the gate fully and watch where it stops. It should stop cleanly at the open stop, not slam into it or stop 6 inches short. Same on the close cycle. A limit that drifts means the operator is working against itself, and on a Ghost Controls or Mighty Mule residential system, a mis-set limit is often the difference between a smooth close and a gate that reverses for no apparent reason.
- Run a force-sensitivity test. Put gentle hand pressure against the gate while it’s moving. It should reverse or stop with minimal resistance. If you have to push hard to get it to reverse, the force setting is too high. This is both a safety issue and a maintenance cue: high force settings mask binding hardware, and the gate is telling you something is dragging.
- Inspect the ground track on slide gates. Clear debris, pebbles, and accumulated dirt from the V-track or flat track. In Mission Viejo, loose decomposed granite from landscaped yards migrates onto gate tracks constantly. A pebble in the track makes the gate shudder on every pass, and that vibration works its way into the operator bracket bolts and the board mounting screws.
- Look at the gate posts. Push firmly on each post at gate height. There should be zero movement. A post that flexes even slightly is transferring every gate cycle’s momentum into the ground, which widens the post hole over time. On Mission Viejo hillside lots with expansive soil, post movement is more common than most homeowners realize, and it’s far easier to re-set a post before the gate sags than after the gate has dragged on the ground and bent its hinges.
If you do nothing else from this list, do the photo-eye lenses and the hinge lubrication. Those two tasks alone prevent more Mission Viejo service calls than every other item combined. For homeowners who’d rather hand the whole list to someone who does this every day, our Gate Repair in Mission Viejo service includes a full 12-point inspection on every visit, not just a fix-and-go.
The Quarterly Gate Maintenance Checklist for Mission Viejo’s Climate
Mission Viejo gives gates a specific set of problems. We’re close enough to the coast to get morning marine layer moisture, then hot and dry by mid-afternoon for much of the year. That daily moisture-dry cycle is what starts rust blistering on iron gates. Add in Santa Ana wind days that carry fine grit, and you have a climate that demands quarterly attention to surfaces, electrical connections, and backup systems. Here’s the quarterly punch list.
Powder-Coat and Finish Inspection
Walk the entire gate surface and look for small raised bumps in the finish, especially on the bottom rail, at weld points, and anywhere water can pool after morning fog. A blister smaller than a dime is the first sign of rust starting under the powder coat. At this stage, it’s a touch-up job. Six months later, that same blister becomes a rust scale that compromises the metal. Sand, treat, and touch up any blister you find immediately. On iron gates in Mission Viejo, we typically see finish failure start at the bottom corners first, because that’s where fog moisture lingers longest.
Battery Backup Voltage Test
Most automatic gate operators with a battery backup run a self-test function, but the self-test only confirms the battery is present and the charging circuit is connected. It doesn’t tell you if the battery voltage is fading under load. For a Viking or Linear operator, set a multimeter to DC volts, place the leads on the battery terminals while the system is plugged in, and note the standing voltage. Then unplug the operator or trip the test function and watch the voltage while the gate runs one full cycle. A healthy battery holds within 0.5 volts of its standing reading. A battery that drops 1.5 volts or more during the cycle is on borrowed time. This five-minute test catches a dead backup battery before the power outage that exposes it.
Electrical Connection Check
With the operator unplugged, open the cover and inspect every wire terminal for corrosion, discoloration, or looseness. Give each screw terminal a gentle wiggle. In Mission Viejo’s moisture cycle, copper terminals on outside-mounted operators develop a light green oxide that adds resistance to the circuit. That resistance causes intermittent control board faults, the kind where the gate works fine for three days and then refuses to respond for an afternoon. A wire brush and a re-torque of the terminal screws resolves most of these before they become board failures.
Drive Gear and Rack Inspection
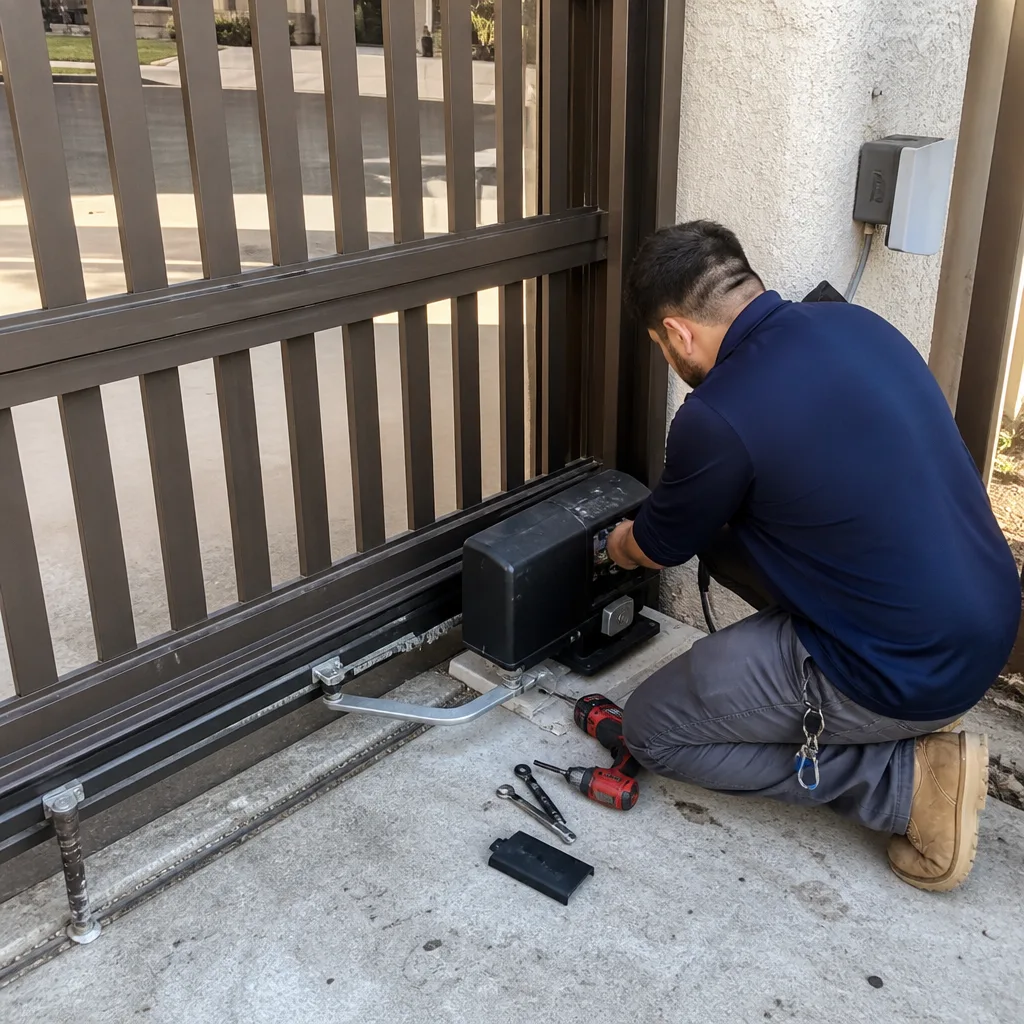
On any operator with an exposed drive gear, look at the gear teeth under direct light. You’re checking for a shark-fin shape: teeth that are thinner on one side and flared on the other. This wear pattern means the gear is no longer seating fully in the rack, and it’s the precursor to a stripped gear that leaves the gate stuck mid-travel. Catching a worn gear at this stage means a $40 to $90 gear replacement instead of a full operator replacement. For homeowners who’d rather not open the operator housing at all, this is a standard part of our Electric Gate Repair in Mission Viejo inspection.
Gate Alignment Verification
Stand back and sight down the gate line. The top rail should run straight and level, the gap at the latch post should be even top to bottom, and a swing gate should not brush the ground at any point in its arc. Sagging gates are progressive. They don’t correct themselves. Every quarter, comparing the gate’s current position to your own photos from three months ago is the simplest way to catch slow movement before it bends hardware.
Photo-Eye Cleaning: The Most Skipped Task on Automatic Gates
We opened this guide with it, and we’re going deeper here because it’s the single highest-value maintenance item on any automated gate in Mission Viejo. The photo-eye, sometimes called the safety beam or light curtain, is a pair of small plastic lenses mounted on opposite sides of the gate opening. One sends an infrared beam. The other receives it. When the beam is broken, the gate reverses or refuses to close. That’s the safety function working correctly. The problem is when the beam is partially blocked by something that isn’t actually in the gate’s path.
On a FAAC or LiftMaster eye, a dust film thin enough to see only in raking sunlight is enough to scatter the infrared beam. Spider silk is worse. A single strand of webbing across the lens face can reduce signal strength enough that the receiver intermittently loses the beam, and the control board interprets that as an obstruction. The gate reverses mid-close, sits open for 20 minutes, then closes fine on the next attempt. To the homeowner, that looks like a failing board, a bad sensor, or ghosts. We’ve diagnosed enough of these to know the board is usually fine. The lens was dirty.
Here’s the cleaning sequence, done monthly:
- Wipe the face of each eye with a dry microfiber cloth. Never use a wet cloth, glass cleaner, or anything that leaves a residue. Water smears refract the beam just as effectively as dust.
- Check the recess around the lens for spider webbing. Use a dry cotton swab or can of compressed air to clear the recess.
- Verify that each eye is still aimed correctly. Most models have an alignment LED that stays solid when the beam is strong and blinks when it’s marginal. If an eye got bumped by a gardener’s trimmer or a child’s bicycle, the LED will tell you.
- Clear vegetation around the beam path. In Mission Viejo, star jasmine and bougainvillea grow fast against gate pillars and can drift into the beam path within a month.
If you’ve cleaned both lenses, confirmed alignment, cleared the path, and the gate still reverses intermittently, that’s the point to call a professional or check our Gate Repair Troubleshooting: Common Problems and How to Fix Them for additional guidance. It could be a failing receiver, a board-level fault, or a wiring issue in the conduit. Our techs carry replacement eyes for all nine brands we service, so a diagnosis turns into a fix in the same visit rather than a two-trip parts delay.
How to Test a UPS Backup Battery on a Viking or Linear Operator
Battery backups on gate operators serve one purpose: keeping the gate functional during a power outage. In Mission Viejo, that outage might be a planned SCE maintenance window or an unplanned shutoff during a Santa Ana wind event. The failure mode we see most often is a battery that tests fine on the operator’s built-in self-test but can’t actually hold voltage under load. The self-test verifies the battery exists. The multimeter test verifies the battery works.
Here’s the five-minute procedure for a Viking or Linear operator with a backup battery module:
- Set up the multimeter. Set it to DC volts, range 0-20V or auto-range. Locate the battery terminals on the backup module. On Viking systems, the battery is typically a sealed lead-acid unit strapped inside the operator housing. On Linear units, it’s often mounted on a dedicated shelf below the main board.
- Take a standing voltage reading. With the operator powered and the charger running, touch the red lead to the positive terminal and black to negative. A healthy 12V sealed lead-acid battery reads between 13.2 and 13.8 volts when float-charging. A 24V system, common on Viking commercial operators, should read between 26.4 and 27.6 volts.
- Cut AC power to the operator. Use the operator’s dedicated breaker or disconnect switch, not the battery disconnect. You want the charger off while the battery feeds the system.
- Run one full gate cycle. Watch the multimeter while the gate opens and closes. On a 12V system, the voltage should not drop below 11.5 volts during the peak motor draw. On a 24V system, it should stay above 23 volts. A drop below that threshold, or a voltage that recovers slowly after the cycle, indicates a battery reaching end of life.
- Restore power and confirm charging. Plug the operator back in and verify the voltage climbs back to the float range within a few minutes. If it doesn’t climb, the charging circuit needs attention even if the battery itself is fine.
A final note: backup batteries are consumables. Even a well-maintained sealed lead-acid battery lasts three to five years in Mission Viejo’s heat. If your battery is four years old and fails the load test, the right call is replacement before the next outage, not after it. The cost of a proactive battery is a fraction of the cost of a service call during an outage when every gate tech in the county is booked solid.
What Normal Wear Looks Like on a Drive Gear at 6 Months, 2 Years, and 5 Years
Drive gears are the mechanical link between the operator motor and the gate itself. When they fail, the motor spins but the gate doesn’t move. The failure almost never happens without warning. Gears wear in a visible, predictable pattern, and once you know what normal looks like at each stage, you can spot abnormal wear before it strands a gate. Here’s the progression we see on properly installed and maintained systems.
At 6 months: A drive gear on a residential operator like a Mighty Mule or Ghost Controls should show polishing on the tooth faces, with the original machining marks still faintly visible at the tooth roots. The teeth are full-width, symmetrical, and the gear seats fully into the rack or chain sprocket. No metal flakes in the housing. No visible wear step at the tooth tip. This is the baseline. If a gear at six months shows already-thinned teeth or a visible wear ledge, something is wrong upstream: misalignment, excessive force settings, or a gate that’s binding and forcing the motor to work too hard on every cycle.
At 2 years: The tooth faces are fully polished and may show a slight concavity where they contact the rack. The overall tooth width is still at 85% or more of original. The gate still runs quietly and stops cleanly at the limits. Some bronze or nylon gears will shed a fine dust into the operator housing; this is normal. What’s not normal at two years is a shark-fin tooth profile, chipped tooth edges, or enough metal powder in the housing to leave a smudge on your finger. Those indicate a persistent bind or a lubrication failure, and addressing the cause now prevents a full gear failure within another year.
At 5 years: On a well-maintained system, the drive gear at five years may show visible wear concavity on the contact faces but still functions correctly. Tooth width is typically at 70% to 80% of original. Some operators will have a slight increase in mechanical noise compared to new. This is the replacement zone for most residential gears, not because they’ve failed but because the wear is accelerating. A $50 gear replaced at five years is cheaper than a $700 operator replacement at six years when the stripped gear takes the rack with it. On commercial-grade operators like DoorKing or Elite, drive gears and sprockets have longer service lives, but the inspection cadence is the same.
The key insight here is the difference between polished and thin. Polished is fine. Thin is not. If you can see daylight through a gap between the gear teeth and the rack where there wasn’t one before, or if the gear teeth look more like spikes than rectangles, the gear needs attention now.
Powder-Coat Integrity on Iron Gates: Stopping Rust Before It Pits
Mission Viejo’s morning marine layer is hard on powder-coated iron gates in ways that inland cities never see. The fog condenses on the gate surface, sits in the low spots and weld joints, and dries off as the sun burns through. Day after day, year after year, that cycle finds every microscopic pinhole in the powder coat. Once moisture reaches the steel, rust starts underneath the finish, and the first visible sign is a blister: a small raised bump in the coating with no impact damage to explain it.
The important distinction here is between surface rust and structural pitting. Surface rust, which appears as a light orange stain spreading from a scratch or chip, is cosmetic and treatable. Structural pitting means the rust has eaten into the metal itself, creating small craters that weaken the gate. The timeline from first blister to visible pitting in Mission Viejo’s climate is typically 12 to 18 months. That’s your window.
Quarterly, run your hand over every bottom edge, every weld, every hinge attachment point, and the inside faces of the pickets. Any raised bump, any area where the coating feels soft or flaky, any point where rust-colored dust is oozing from a seam: mark it, treat it, touch it up. The treatment process is simple at the blister stage. Sand to bright metal, apply a rust converter or primer, then touch up with a color-matched powder coat repair kit. At $25 and 30 minutes per blister, it’s the cheapest structural protection a Mission Viejo gate owner can buy.
If the blisters have already burst and you’re seeing scaled rust, the repair is more involved. The affected section needs to be ground back to solid metal, treated, primed, and refinished. Structural pitting may require welding repair on gate frames. For gates that are beyond a touch-up, a new Gate Installation in Mission Viejo with proper surface prep and a marine-grade powder coat is often a better long-term investment than repeated repairs on a finish that’s failing across the whole surface.
The Maintenance Log: Your Best Leverage in a Warranty Claim
Warranty claims on gate operators from brands like FAAC or Elite often hinge on one question: was the system maintained? The manufacturer’s warranty language nearly always excludes damage from abuse, neglect, or improper maintenance. When a drive gear strips at 22 months on a system with a 24-month warranty, the manufacturer’s first move is to ask for maintenance records. If you can’t produce them, you’re negotiating from a weak position. If you can, the conversation changes completely.
This is where a maintenance log earns its keep. We recommend a simple spreadsheet or notebook with these columns:
- Date – every inspection, adjustment, repair, or cleaning
- Task performed – what was done, in plain language
- Part used or replaced – brand, model, and source if applicable
- Cycle count at time of service – if your operator tracks cycles, record the number
- Observation or measurement – voltage readings, gear tooth condition, force settings, anything numeric
- Photo reference – a quick phone photo of the gear, the battery, the finish condition
The cycle count is the most overlooked data point. Most modern operators, including higher-end Viking, DoorKing, and Elite systems, track total cycles in the board’s diagnostic menu. Recording this number at every service gives you a usage history that manufacturers respect. A gate that has run 40,000 cycles in two years has a different wear story than one that has run 8,000 cycles. When a gear fails and you can show it lasted 39,000 documented cycles, the conversation with the warranty department is about duty cycles and expected service life, not about neglect.
For property managers responsible for multiple gates, logs are not optional. They’re the tool that separates a defensible maintenance program from an insurance claim. We build these logs for every client we service, because we’ve seen too many claims denied for lack of paper.
Common Mistakes to Avoid
- Skipping photo-eye cleaning because the gate still works. Dust accumulation is gradual, and the first symptom is an intermittent reversal, not a dead gate. By the time the eye is fully blocked, the owner has usually misdiagnosed the problem and replaced a board that was never the issue.
- Using WD-40 on gate hinges. WD-40 is a water displacer and light penetrant, not a long-term lubricant. It washes out in Mission Viejo’s morning fog and leaves hinge pins dry. Use silicone spray or white lithium grease instead.
- Cranking up force settings to fix a binding gate. When a gate starts hesitating or reversing, the fix isn’t more force. Higher force settings mask the real problem, force the motor to work harder, and accelerate gear and hinge wear. Find the bind instead.
- Ignoring a sagging gate because it still clears the ground. Sag is progressive and accelerates as it worsens. A gate that brushes the ground at the latch end is already bending its hinge pins. The repair cost increases every week it’s left uncorrected.
- Testing a backup battery only when the power goes out. That’s when you discover the battery died silently two years ago. Quarterly load testing catches a degraded battery while there’s still time to replace it on your schedule, not during an outage.
- Painting over rust blisters instead of treating them. Paint over an active rust blister seals the moisture in and lets the rust keep eating under the finish. Sand, treat, prime, then paint. Skipping the treatment step turns a $25 touch-up into a structural repair in Mission Viejo’s moisture cycle.
- Using the wrong replacement parts because they’re cheaper. A generic chain, gear, or eye that’s close but not exact forces the operator to compensate, shortens the life of the components around it, and voids some manufacturer warranties. Match the part to the system.
When to Call a Professional
Some gate problems are safe to address with a rag, a can of lubricant, and a multimeter. Others are not. If the gate slams at either limit, if the operator housing smells like burnt electrical, if the gate reverses with nothing in the beam path after a thorough eye cleaning, or if you find a drive gear with shark-fin teeth, that’s a professional call. The same goes for any repair that requires opening a control board, replacing a capacitor, or working with high-tension spring hardware. We’ve replaced enough boards that were damaged by well-intentioned DIY probing to know when a repair is best left to someone who’s been inside that exact system before. For Mission Viejo homeowners who’d rather hand off the whole checklist, Gate Repair Mission Viejo offers free estimates on maintenance inspections and repairs. Call (866) 562-1205 to schedule – our techs are factory-familiar with the major gate brands and carry parts on the truck.
Frequently Asked Questions
A full professional service once a year, combined with the monthly and quarterly checklist items in this guide, keeps most Mission Viejo gates running reliably. Homes near the coast or on hillside lots with more fog exposure and soil movement may benefit from twice-a-year professional inspections.
Basic gate maintenance visits in Mission Viejo typically run from $120 to $250 for inspection, lubrication, adjustment, and minor repairs. Parts like batteries, gears, and eyes are additional. Gate Repair Mission Viejo quotes all work before starting, so you’ll know the total before we touch the gate. Call (866) 562-1205 for a free estimate.
In most cases, a dirty photo-eye lens or a beam path blocked by vegetation is the cause. The gate thinks something is in the way and reverses as a safety response. Clean both lenses, clear the path, and test again. If the reversing continues after a thorough eye cleaning, the problem could be a failing receiver, a board fault, or a mis-set force limit, and that’s the point to call a technician.
Yes. Hinge lubrication is a safe monthly task for any homeowner. Use a silicone-based spray or white lithium grease, apply to every pivot point, and wipe away excess. What you shouldn’t do is attempt to adjust a sagging gate, replace a drive gear, or open an operator housing if you’re not comfortable with electrical components. Those are professional repairs.
Sealed lead-acid backup batteries in Mission Viejo typically last three to five years. The heat and the daily fog-to-sun moisture cycle shorten battery life compared to cooler inland climates. Quarterly load testing will tell you when a battery is fading before it fails during an outage.
Address rust blisters immediately. Sand the blister to bright metal, apply a rust converter or primer, and touch up with a color-matched powder coat repair product. Left untreated, blisters become structural pitting within a year or two in Mission Viejo’s climate. For extensive rust or structural damage, a professional inspection is the right next step.
The Bottom Line
Gate failure is rarely sudden. It’s a chain of small neglects: a dirty eye, a dry hinge, a skipped battery test, a blister left unchecked. The 12-point checklist in this guide is built around the failure patterns we see every week on Mission Viejo gates, and it costs less than an hour a quarter to run. Clean the eyes monthly, lubricate the hinges, test the battery with a multimeter, inspect the gear, track the finish, and log everything. Do that, and most emergency calls never happen. When a problem does come up, or when you’d rather hand the whole list to someone who works on gates exclusively, call Gate Repair Mission Viejo at (866) 562-1205 for a free estimate. We handle emergency repair, scheduled maintenance, and full Gate Installation across the Mission Viejo area, and we quote every job before work begins.
Written by the team at Gate Repair Mission Viejo, serving Mission Viejo since 2011. Explore more guides & resources on gate maintenance and repair.
See the difference
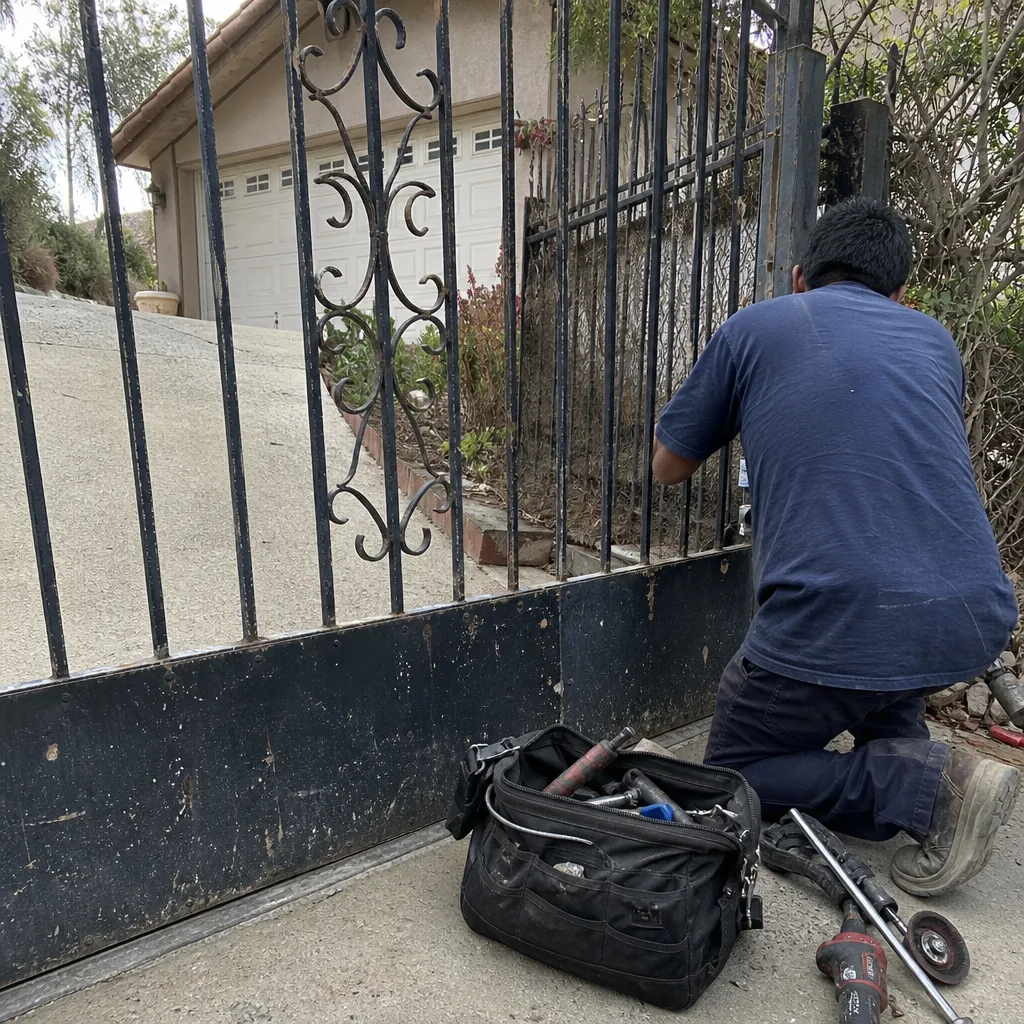 Before
 After
 Before
 After
 Before
 After