
Last updated November 2, 2026
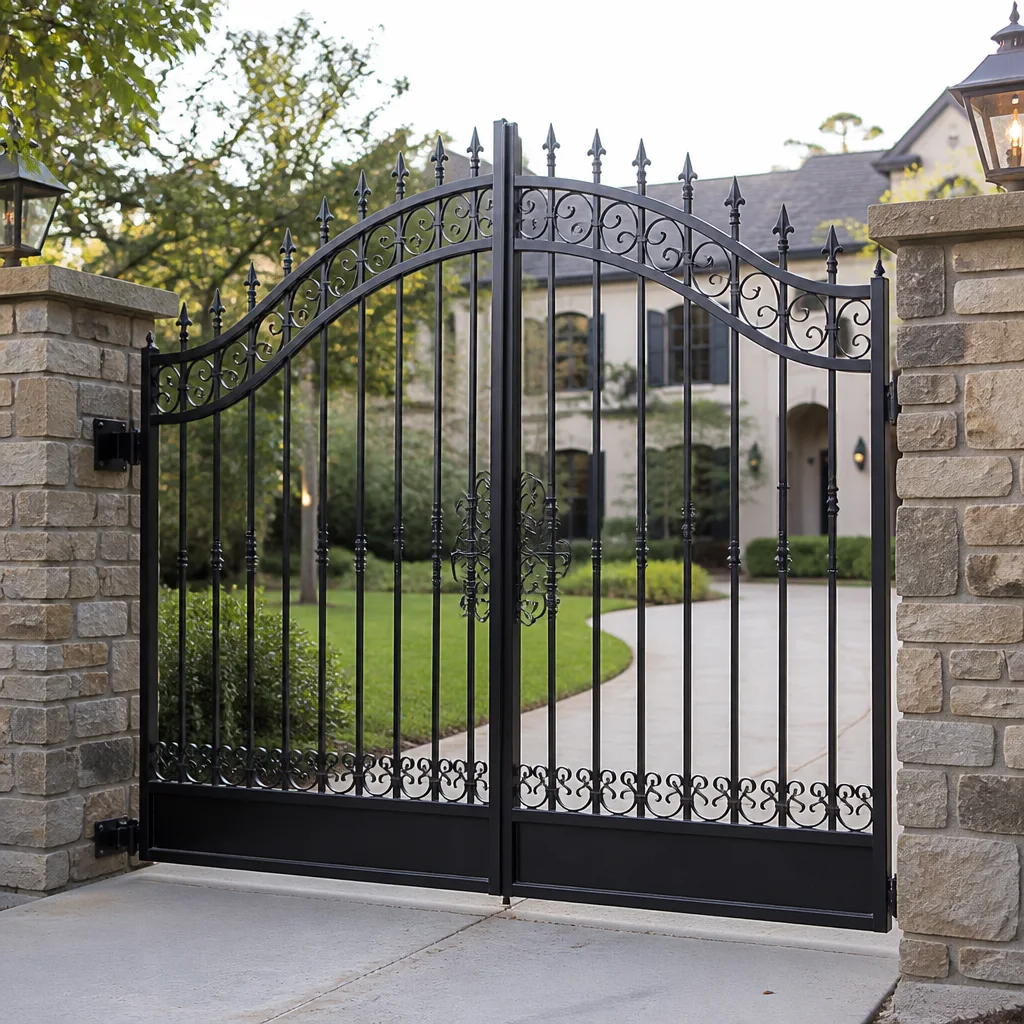 Wrought iron
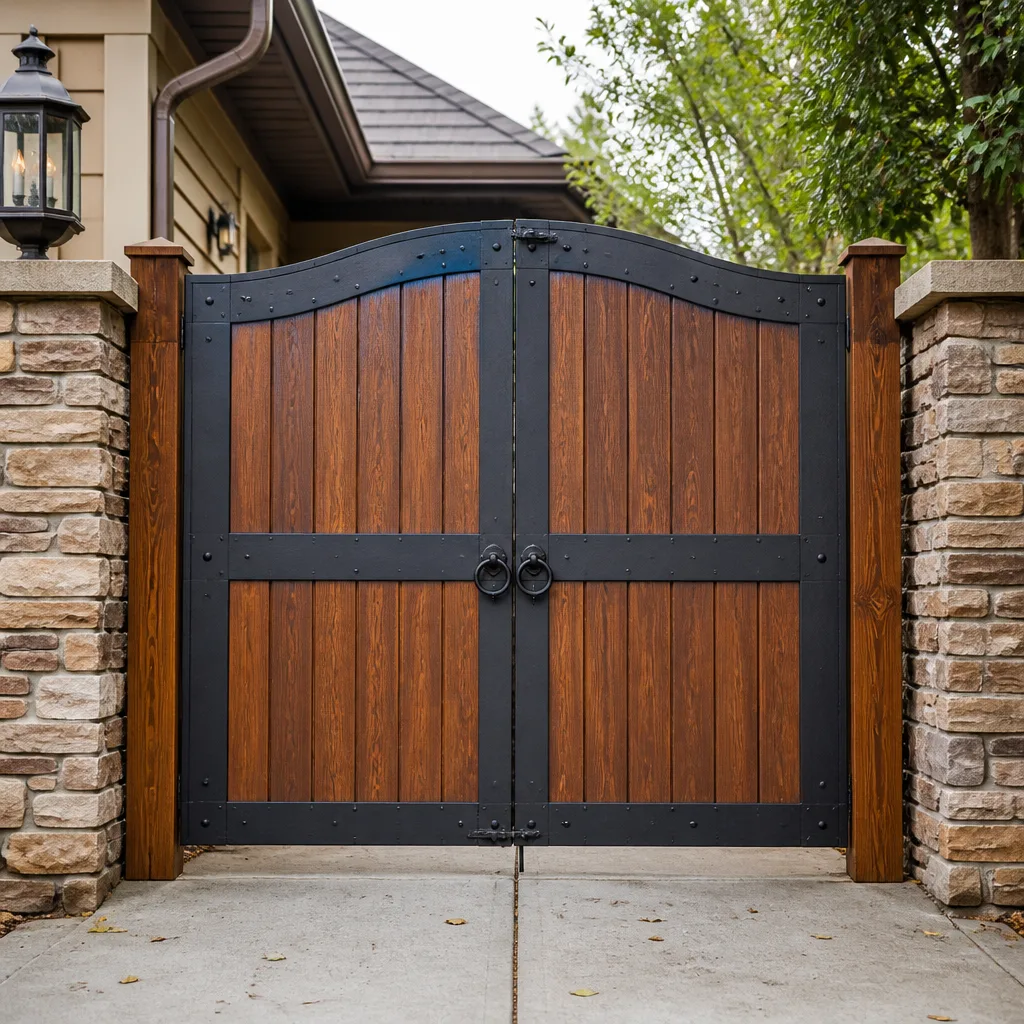 Wood & steel frame
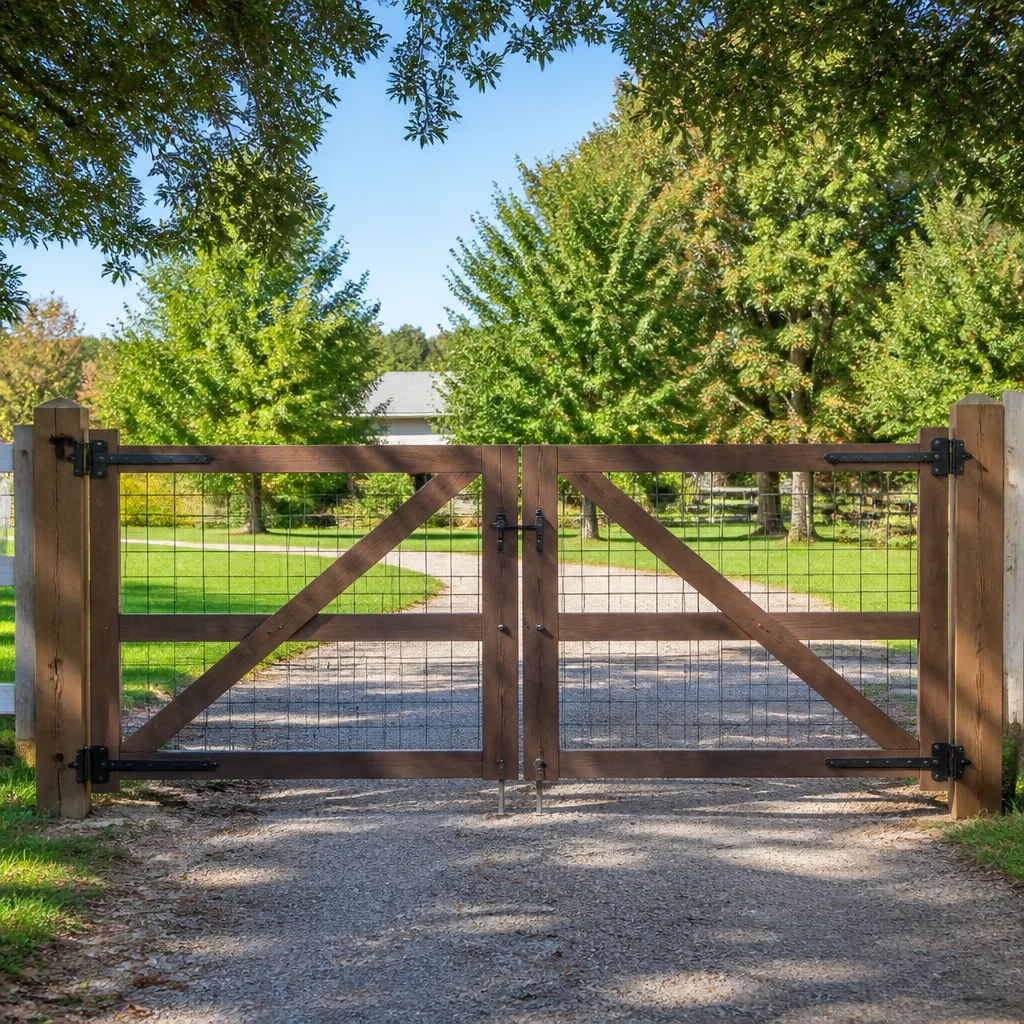 Farm & ranch
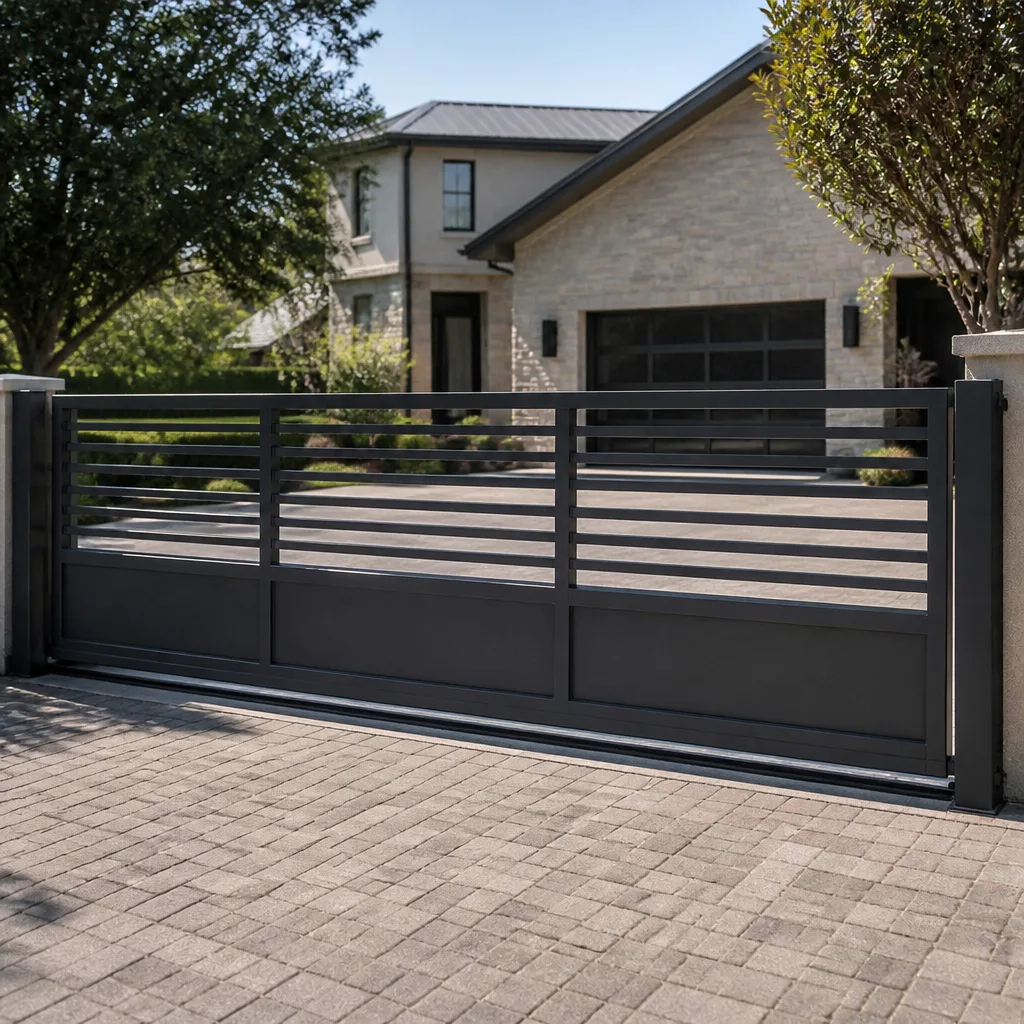 Sliding driveway gates
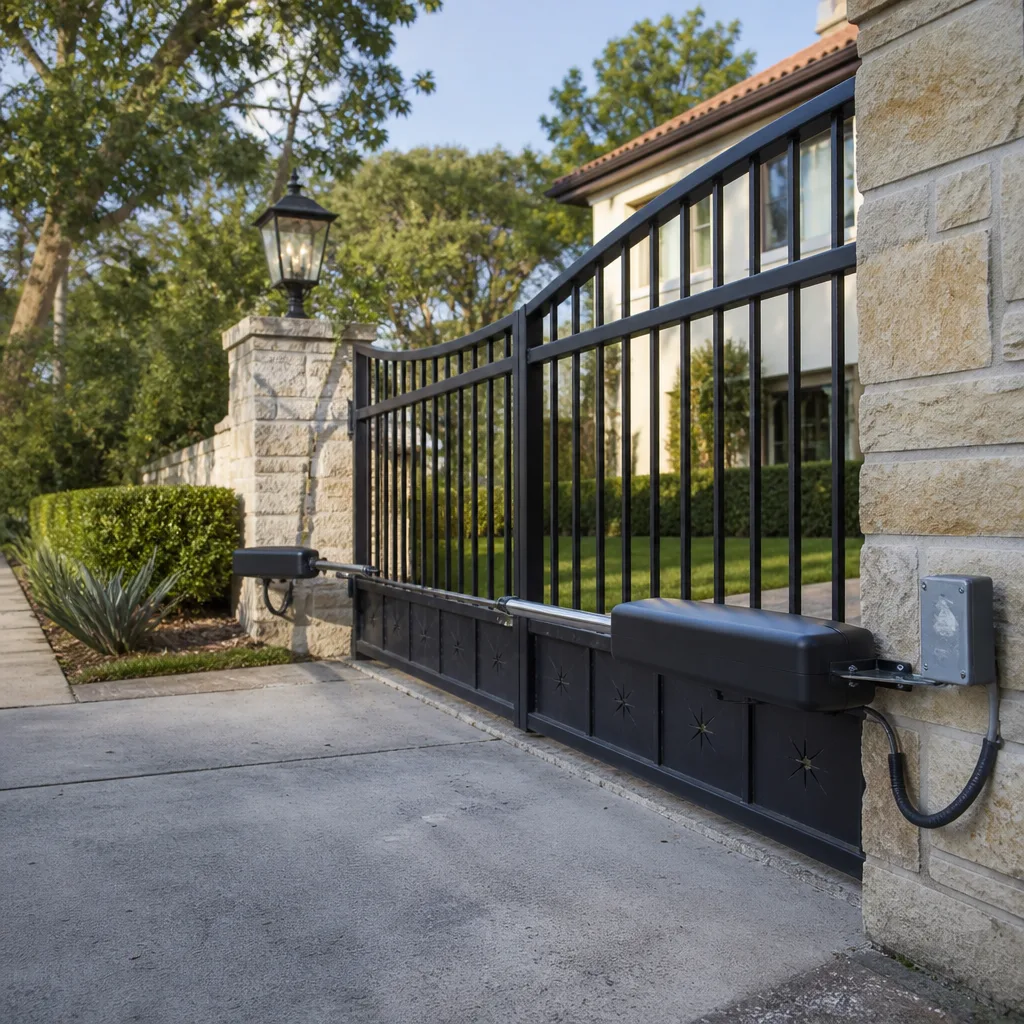 LiftMaster operators
Free on-site gate assessment - hinges, posts, and your LiftMaster or Nice gate operator checked before anything is quoted
The assessment is free and the quote is the invoice.
Get your free estimateGate Repair Troubleshooting: Common Problems and How to Fix Them
Your gate opened on the first try after you jiggled the remote. That’s not a fix. That’s a warning.
Intermittent operation on a Viking or DoorKing operator is almost never a remote battery issue, yet that’s the first thing most homeowners swap out. What follows is the guide we wish every Mission Viejo homeowner had before touching a gate system, alongside our Gate Repair Warning Signs: A Mission Viejo Homeowner’s Reference Guide: how to verify safety systems first, how to read error codes on common residential operators without hunting for a manual, and how to tell the difference between a $40 sensor fix and a $1,200 control board replacement before you spend a dime.
Quick Answer
Most gate failures fall into four categories: no power, obstructed or misaligned safety sensors, a tripped limit switch, or a failed control board. Start by checking the power source and safety sensors before touching anything else, because a gate that “works fine” with a misaligned photo eye is a liability, not a solved problem. For Mission Viejo homeowners, ground loop detector failures caused by cracked driveway concrete are a leading cause of “my gate stopped detecting my car” calls we see year-round.
Styles & brands we work with
- Wrought iron
- Wood & steel frame
- Farm & ranch
- Sliding driveway gates
- LiftMaster operators
Table of Contents
- Safety First: Why Sensor Verification Comes Before Anything Else
- How to Read Operator Error Codes on Residential Gate Systems
- Gate Won’t Open at All: Power and Logic Diagnosis
- Gate Moves Slowly or Strains: Mechanical Drag and Motor Stress
- Gate Reverses Immediately: Obstruction Sensors and Limit Faults
- Ground Loop Detector Problems: Why the Cracked Driveway Is the Real Culprit
- Wiring Faults When Intercoms Are Involved: Isolating the Operator from the Intercom
- Manual Release and Reset Procedures: Swing vs. Slide Gates
Safety First: Why Sensor Verification Comes Before Anything Else
Here’s the mistake we see most often in Mission Viejo: a homeowner notices their gate is acting up, tests the remote a few times, and when the gate eventually cycles, they decide the problem “went away.” It didn’t. What likely happened is that a safety sensor is borderline, the gate’s logic board is compensating, and the next vehicle or child in the gate’s path is one failed detection away from getting struck. A gate that operates intermittently with a misaligned photo eye or a failed loop detector is more dangerous than a gate that won’t move at all, because the dead gate at least announces the problem. If you’re seeing these symptoms, explore How to Hire a Gate Repair Contractor in Mission Viejo: A Step-by-Step Guide before calling anyone.
Before you diagnose anything else, check these items in this exact order:
- Photo eye alignment: Look at the safety sensor pair near the bottom of the gate opening. One should have a steady indicator light, the other should be clean and unobstructed. If either lens is dusty, spider-webbed, or nudged out of alignment by a weed whacker or a landscaping crew, the gate’s logic board may be receiving a false “obstruction” signal.
- Manual obstruction check: Walk the full travel path of the gate. Look for branches, rocks, sprinkler heads, or overgrown ice plant – common in Mission Viejo yards – that could be brushing against the gate edge and tripping the safety reverse.
- Stop limit verification: If your gate has mechanical limit switches or magnetic stops, make sure they’re still mounted and not loose. A stop that slid out of position will tell the operator the gate is either fully open or fully closed when it isn’t.
- Battery backup presence: If your gate has a battery backup, check whether it’s holding a charge. A degraded backup battery can cause the operator to behave erratically even when AC power is present.
This verification sequence takes ten minutes and requires no tools. In our experience, roughly a third of the “intermittent gate” calls we take in Mission Viejo resolve at this stage. The other two-thirds require the diagnostics in the sections below.
For homeowners who want professional backup on a recurring basis, our Electric Gate Repair in Mission Viejo service includes sensor alignment as a standard part of every visit, not an upsell.
How to Read Operator Error Codes on Residential Gate Systems
Most residential operators manufactured after 2010 will flash a diagnostic code on the control board when something fails. You don’t need a technician’s manual if you know what the flash counts mean on the three operators we see most often in Mission Viejo: the LiftMaster LA400, the FAAC 400, and the Apollo 1500.
Here’s how to read them:
- LiftMaster LA400: Locate the diagnostic LED on the control board. One flash means a photo eye fault (obstruction or misalignment). Two flashes indicate a wiring short on the sensor circuit. Three flashes signal a motor over-current condition, which usually means the gate is binding. Four flashes point to a limit switch fault. Five flashes mean the board lost communication with the remote receiver.
- FAAC 400: The FAAC board has a small display, not just an LED. An “E1” indicates a photocell failure at the closing side. “E2” is a photocell failure at the opening side. “E8” means the motor capacitor is failing, which shows up as a gate that struggles to start. “E9” is a transformer protection trip, often caused by a short downstream in the wiring.
- Apollo 1500: Apollo uses a combination of LED states. A solid red “POWER” LED with no “RUN” activity means the board is receiving power but not executing a command. A blinking “FAULT” LED paired with a clicking relay indicates a current-sensing reversal, usually from a mechanical bind. If the “FAULT” LED blinks three times and pauses, the board sees a short on the safety loop input.
The specific flash patterns matter less than the discipline of writing them down before you power-cycle the board. A power reset erases most intermittent fault codes on these operators. If you cycle the breaker and the code disappears, you’ve lost the evidence. Document the code, then reset, then test.
In Mission Viejo, where many homes run these exact three models, we’re able to diagnose most board-level failures over the phone just by asking the homeowner to count the flashes. It saves a trip and usually tells us what part to load in the truck before we even arrive. That brand-specific familiarity – from Linear to Viking to DoorKing – is half the reason a dedicated Gate Repair in Mission Viejo visit tends to resolve faster than a generalist call-out.
Gate Won’t Open at All: Power and Logic Diagnosis
A gate that won’t open and won’t respond to any input – remote, keypad, or push button – is a power or logic problem, not a mechanical one. Here’s the diagnostic sequence we follow, in order of likelihood:
- Check the AC power at the outlet or junction box: More gate failures trace back to a tripped GFCI outlet than any other single cause. Gate operators pull significant current at startup, and older Mission Viejo homes with GFCI-protected exterior circuits will trip the outlet whenever the operator’s capacitor is getting weak. Reset the GFCI and test the gate twice in a row. If the GFCI trips again, you have a capacitor or motor winding problem.
- Inspect the operator’s power switch and any disconnect: Many operators have a small rocker switch or pull-cord disconnect on the side. A gardener’s leaf blower can easily knock this switch to the “off” position without anyone noticing.
- Test the battery backup: If your system has a battery backup and the gate is dead on both AC and remote, the control board may be running the operator off a depleted battery. Charge or replace the battery, then test again.
- Verify the control board is receiving input: If the board has a diagnostic LED, confirm it’s lit. A dark board with confirmed AC power at the outlet means a blown fuse on the board or a failed transformer. Both are board-level repairs.
- Check the manual release: If the gate was manually released during a power outage and never re-engaged, the operator will run but the gate won’t move. This is a “gate won’t open” that’s actually a “gate isn’t connected to the motor.”
One distinction worth drawing clearly: a gate that won’t open from the remote but opens from the push button is not a power problem. That’s a receiver or remote programming issue. A gate that won’t open from anything – remote, keypad, push button – is a power or board problem. Write down which inputs worked and which didn’t before you call for help. That single piece of information eliminates half the diagnostic time.
In our experience, Ghost Controls and Viking residential operators are the most likely to have a receiver that lost its programming after a power surge, while DoorKing commercial boards are more likely to have a blown fuse. Knowing which brand reads which way is the difference between a five-minute reprogram and a two-hour board hunt.
Gate Moves Slowly or Strains: Mechanical Drag and Motor Stress
A gate that moves slowly but still opens and closes is a mechanical problem about eighty percent of the time. The motor is working harder than it should, which means something is dragging. Here’s what to check, in order:
- Hinge wear: On swing gates, the hinges take the full weight of the leaf every time it cycles. Worn or seized hinges force the motor to push through resistance. Grab the gate at the free end and swing it manually (after releasing the operator). If it doesn’t swing smoothly on its own, the hinges are the problem.
- Track obstruction on slide gates: Slide gates run on a track, and that track collects everything: leaves, dirt, gravel, pet waste, and in Mission Viejo’s summer heat, caked dust that hardens into a grinding paste. Clean the track and check the rollers. Bad rollers make a distinctive rumble you can hear before you see the problem.
- Wheel or roller alignment: A slide gate with a low wheel puts lateral tension on the motor sprocket. Over time, that tension destroys the sprocket teeth and the chain. The gate will still move, but it’ll sound labored and move unevenly.
- Motor capacitor degradation: If the gate hums but barely moves, or starts slow and gains speed, the motor’s start capacitor is failing. This is the classic “gate moves like it’s tired” symptom on FAAC and Apollo operators.
- Voltage drop: Long power runs from the house to the gate can lose voltage, especially in older Mission Viejo neighborhoods where the house panel is far from the gate location. A motor running on 100 volts instead of 120 volts will move the gate, but slowly, and it’ll burn out the motor prematurely.
The slow gate is the one homeowners ignore longest, because it still technically works. That’s a costly mistake. Every cycle the motor spends fighting mechanical drag is a cycle that shortens its life. By the time a binding swing gate finally stops, the fix usually includes hinges, a motor, and often a new control board, because the board’s current sensors have been tripping repeatedly and silently.
If your gate has moved from “normal” to “noticeably slower” in the last six months, address it now. The parts cost for a hinge replacement is modest. The cost of replacing a burned-out operator assembly is not. For a full evaluation, see Gate Installation in Mission Viejo – many Mission Viejo homeowners with older operators choose to upgrade once they see the repair cost on a worn system.
Gate Reverses Immediately: Obstruction Sensors and Limit Faults
A gate that starts to open then immediately reverses, or opens halfway and then closes, is telling you something specific. The logic board received a signal that something is in the way, or the limit switches are out of sync with the gate’s actual position.
Here’s the diagnostic path:
- Check the safety photo eyes first. If the photo eye pair is misaligned or one lens is dirty, the board interprets that as an obstruction and reverses the gate. This is the single most common cause of immediate reversal on LiftMaster, FAAC, and Linear operators. Clean both lenses, confirm the indicator LED is steady, and test again.
- Check the mechanical stop limits. On operators with physical limit switches or magnetic stops, a stop that moved slightly means the board now believes the gate’s “open” position is earlier or later than it actually is. The gate opens, hits the stop prematurely, and reverses because it thinks it encountered resistance. Reposition the limit per the manufacturer’s spec.
- Check the current-sensing threshold. Many modern operators use current sensing rather than physical stops. When the motor draws more current than the board expects, the board reverses. This can be a genuine obstruction – a branch in the path – or it can be a false trigger caused by worn bearings that increased the motor’s draw. The latter is a mechanical repair masquerading as an electrical fault.
- Inspect the gate’s edge sensor or contact strip. If your gate has a rubber safety edge along the leading edge, a short inside that strip will tell the board the gate physically pressed against something, causing a reversal. These strips degrade in UV exposure, and Mission Viejo’s sun does them no favors.
The immediate-reversal symptom is where we see the most unnecessary part replacements. A homeowner replaces the photo eyes when the real problem is a worn roller. A handyman replaces the control board when the real problem is a misaligned limit stop. Diagnosing the actual signal source first – sensor, stop, or current – is what turns a one-visit fix into a repeated call-out.
In our work with Linear and Ghost Controls systems specifically, we’ve found that immediate reversal on these brands is about three times more likely to be a limit-stop issue than a photo-eye issue, simply because their limit mechanisms are mechanical and drift over time. On DoorKing’s newer DC operators, edge sensor faults dominate. The brand determines the likely failure point, and knowing that pattern is what makes a specialist’s visit shorter.
Ground Loop Detector Problems: Why the Cracked Driveway Is the Real Culprit
If your gate opens on the remote but won’t detect your vehicle and open automatically, you have a ground loop detector problem. And in Mission Viejo, the real culprit is often hiding in plain sight: a cracked driveway.
Here’s how a ground loop works, briefly. A loop of wire buried under your driveway carries a small electrical current. When a large metal object – your car – passes over the loop, the metal disrupts the magnetic field, the loop detector senses the change, and the gate opens. The loop has one job: tell the gate that a vehicle, specifically, is waiting.
When the driveway concrete shifts or cracks – which happens constantly in Southern California’s temperature swings and occasional seismic movement – the wire inside can snap. The loop detector goes from sensing vehicles to sensing nothing. Homeowners then assume the control board failed, because the gate still works on the remote. It isn’t the board. It’s the wire in the ground.
Diagnosing a failed loop:
- Test the gate from the vehicle approaching direction. If the gate opens from a distance when you press the remote but won’t trigger when you drive over the loop, the loop is suspect.
- Test from a second vehicle. Loop detectors are tuned to detect a minimum mass of metal. A small car might trigger a loop that a motorcycle or aluminum-bodied vehicle won’t. If the loop detects your SUV but not a smaller car, the detector’s sensitivity needs adjustment, or the loop is partially broken.
- Check the loop detector’s LED indicators. Most loop detectors have a “CALL” LED that lights when a vehicle is detected. If you drive over the loop and the CALL LED never flashes, the loop or the detector has failed.
- Inspect the driveway for fresh cracks near the gate. A new crack extending from the gate track toward the center of the driveway is a strong indicator the loop wire snapped with the concrete.
The fix for a broken loop is to saw-cut a new loop in the driveway and reseal it, or to install a free-exit loop on the property side. Both require specialized equipment. This isn’t a DIY repair; it’s a job for our Gate Repair services or a concrete contractor working with one.
Mission Viejo’s climate – hot dry summers, cool nights, and the occasional earthquake tremor – speeds up the driveway movement that kills loops. We replace more ground loops in this city than in nearby coastal communities for exactly that reason. The failure has nothing to do with the gate operator and everything to do with what’s under the car.
Wiring Faults When Intercoms Are Involved: Isolating the Operator from the Intercom
When a gate has intercom or access-control integration – an Aiphone, Doorbird, or DoorKing entry system wired into the gate operator – a failure anywhere in that shared wiring can take down both systems. The gate stops responding, and the homeowner assumes the gate operator died, when the actual problem is a short in the intercom’s relay wiring.
Here’s how to isolate the systems and find the failure:
- Disconnect the intercom relay from the operator. Most residential gate operators have a two-wire “open” input where the intercom, keypad, and push button all connect. Disconnect the intercom wires from that input terminal, leaving the other controls connected.
- Test the gate from the push button or keypad. If the gate operates normally with the intercom disconnected, the fault is in the intercom wiring, not the gate operator. If the gate still won’t respond, the fault is in the operator’s open-input circuit or the board.
- Inspect the intercom cable run. Look for exposed wiring where the cable exits a wall, runs underground, or passes through a hinge. Southern California’s dry heat breaks down wire insulation over time, and a shorted pair in that cable will pull the open-input circuit low, telling the board to ignore all commands.
- Check for voltage bleed. Some intercom systems send a small voltage through the relay line even when idle. If that voltage exceeds the operator’s input tolerance, the board reads a constant “open” command and behaves erratically. A relay isolation module solves this.
The most telling symptom of an intercom-gate wiring fault is inconsistency: the gate works on the keypad but not the intercom, or the intercom works but the gate’s push button doesn’t, or everything works when the weather is dry but not when it’s damp. In Mission Viejo, where irrigation lines run close to gate wiring conduits, moisture ingress into the conduit is a year-round risk.
What you’re listening for is the difference between a system that “doesn’t work” and a system that “only works sometimes from one input.” The first is usually a board or power fault. The second is almost always wiring. Write down which inputs work and which don’t before you pick up the phone.
Manual Release and Reset Procedures: Swing vs. Slide Gates
During a power outage, or when an operator fails, you need to get your gate open manually. The procedure differs by gate type, and if you don’t know how to do it before the outage happens, you’ll be stuck reading a manual in the dark.
For swing gates:
- Locate the manual release handle on the operator arm. On most residential swing operators – LiftMaster, Apollo, Mighty Mule – this is a red or yellow knob near where the arm attaches to the gate or the post.
- Pull the release knob and rotate it to disengage the gear. The operator arm should now move freely by hand.
- Swing the gate manually to the open or closed position. Note that the gate is not locked in either position when released; a bungee cord or block may be needed to hold it.
- To re-engage, move the operator arm back to the position matching the gate, push the release knob back, and rotate until it clicks. Test the gate twice before leaving.
For slide gates:
- Find the manual release chain or lever on the operator. Some slide operators have a chain-driven sprocket with a clutch lever; others have a keyed release on the side of the motor housing.
- Disengage the clutch by pulling the lever or rotating the keyed release. The gate should now slide freely along its track.
- Push the gate manually. Slide gates are heavy – a 14-foot steel gate can weigh 400 pounds or more – so get help if you need it.
- Re-engage by returning the clutch lever or keyed release to its original position. Slide the gate slightly to help the sprocket teeth mesh, then test.
Resetting the operator after a fault:
- Turn off the circuit breaker for the gate operator for 60 seconds, then restore power. This clears most transient fault codes on LiftMaster, FAAC, Linear, and Ghost Controls boards.
- After the power cycles, run the gate through a full open and close cycle using the push button, not the remote. This lets the board re-learn its limits if it lost them.
- If the gate still won’t operate after a reset, write down any error codes before cycling power again. A second reset erases the evidence.
Every gate operator has a manual release. It’s often hidden behind a small cover or under a flap on the motor housing. Take five minutes this weekend to locate yours and practice the release once. When the power goes out, you’ll already know where everything is.
Common Mistakes to Avoid
- Replacing the remote battery before checking anything else. Most intermittent gate failures are sensor or limit related, not remote related. A fresh remote battery masks the real problem for another week, and then the gate fails at the worst moment.
- Testing the gate without checking the safety sensors first. A gate that cycles with a misaligned photo eye “works” but isn’t safe. You’ve now confirmed the gate moves, not that it’s safe. Those are different things.
- Power-cycling the board before recording the error code. A breaker reset wipes intermittent fault codes on most boards. Write the flash pattern down, then reset. You just lost your only diagnostic clue otherwise.
- Ignoring a slow gate because it still opens. Mechanical drag kills motors. Every labored cycle shortens the motor’s life. A slow gate is a bill on layaway.
- Assuming the control board is bad when the loop detector fails. A gate that won’t trigger for your car but works on the remote is a loop problem, not a board problem. In Mission Viejo, the cracked driveway is the usual suspect.
- Calling a generalist who doesn’t know your brand. A technician who’s never touched a DoorKing board will replace parts by trial and error. A brand-fluent technician arrives knowing which failures that model is prone to. The difference shows up on the invoice.
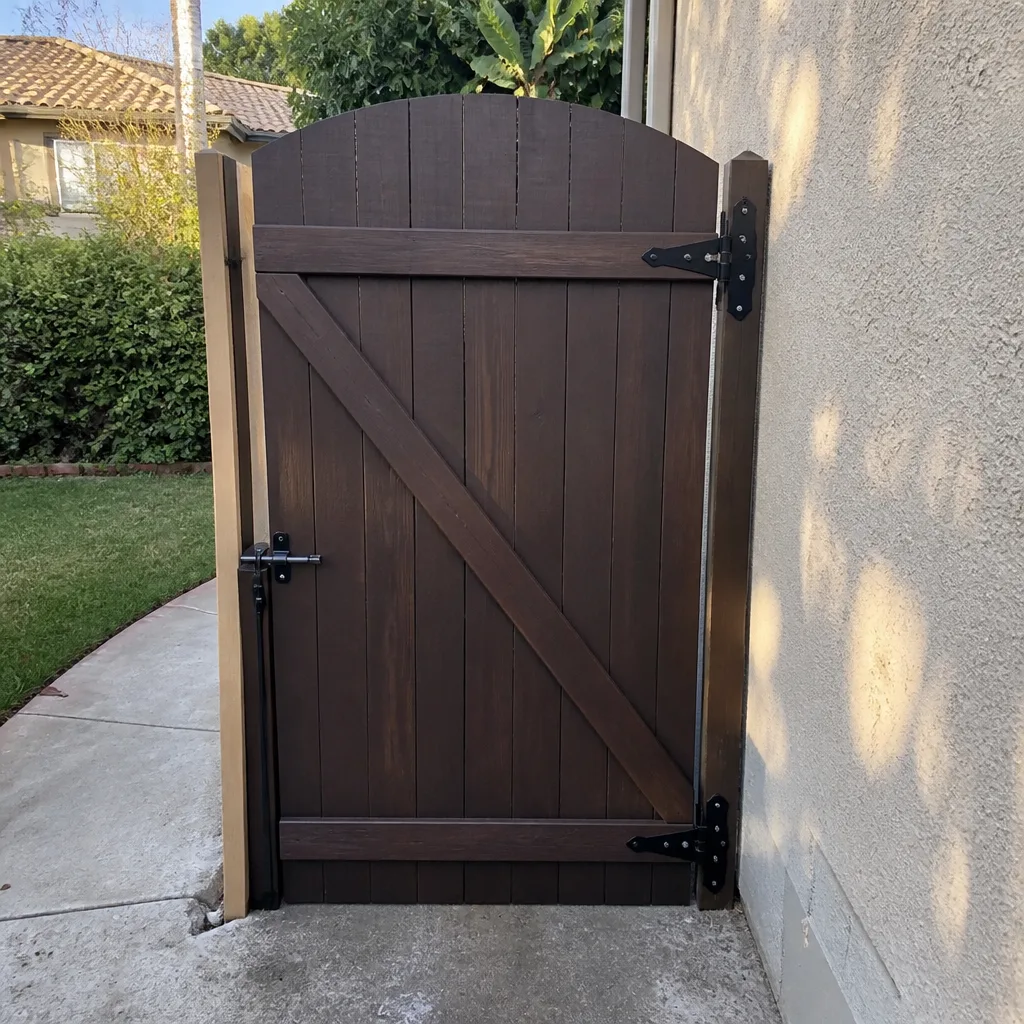
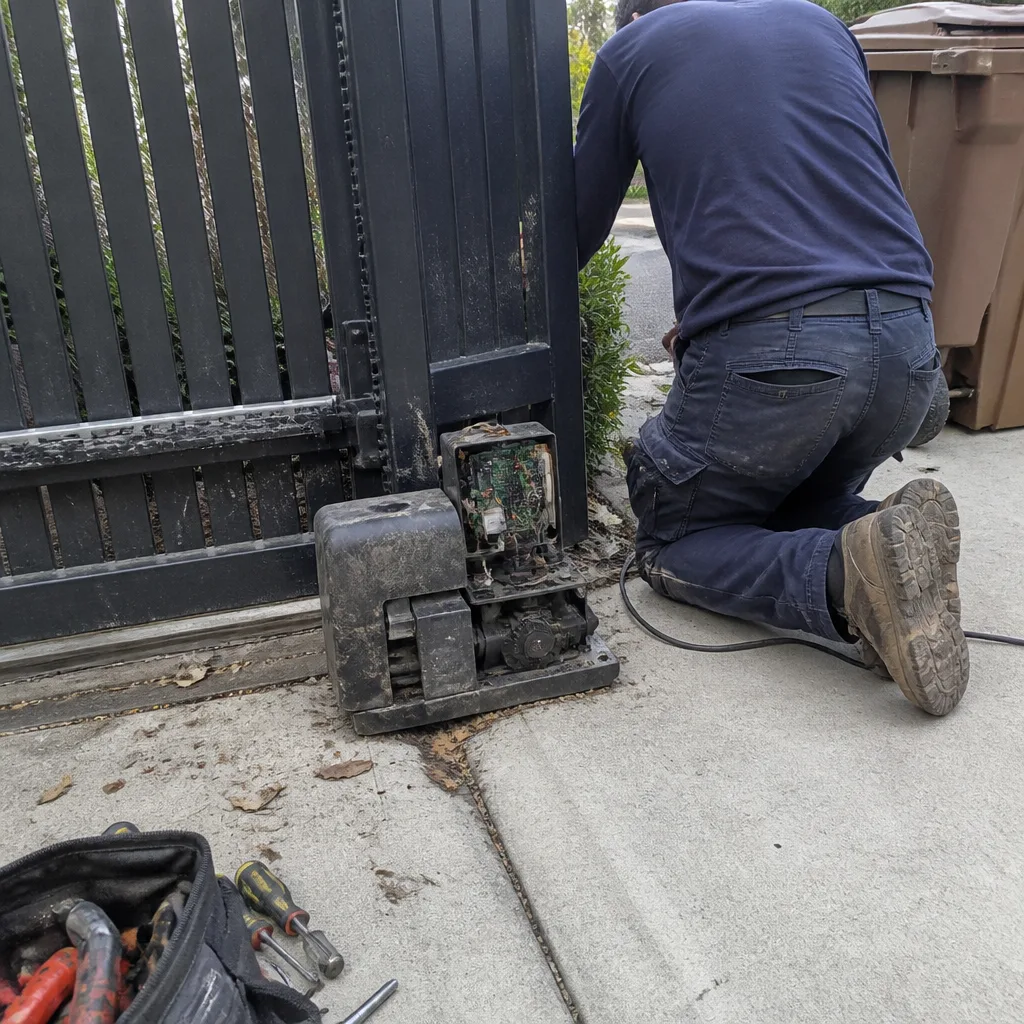
See the difference
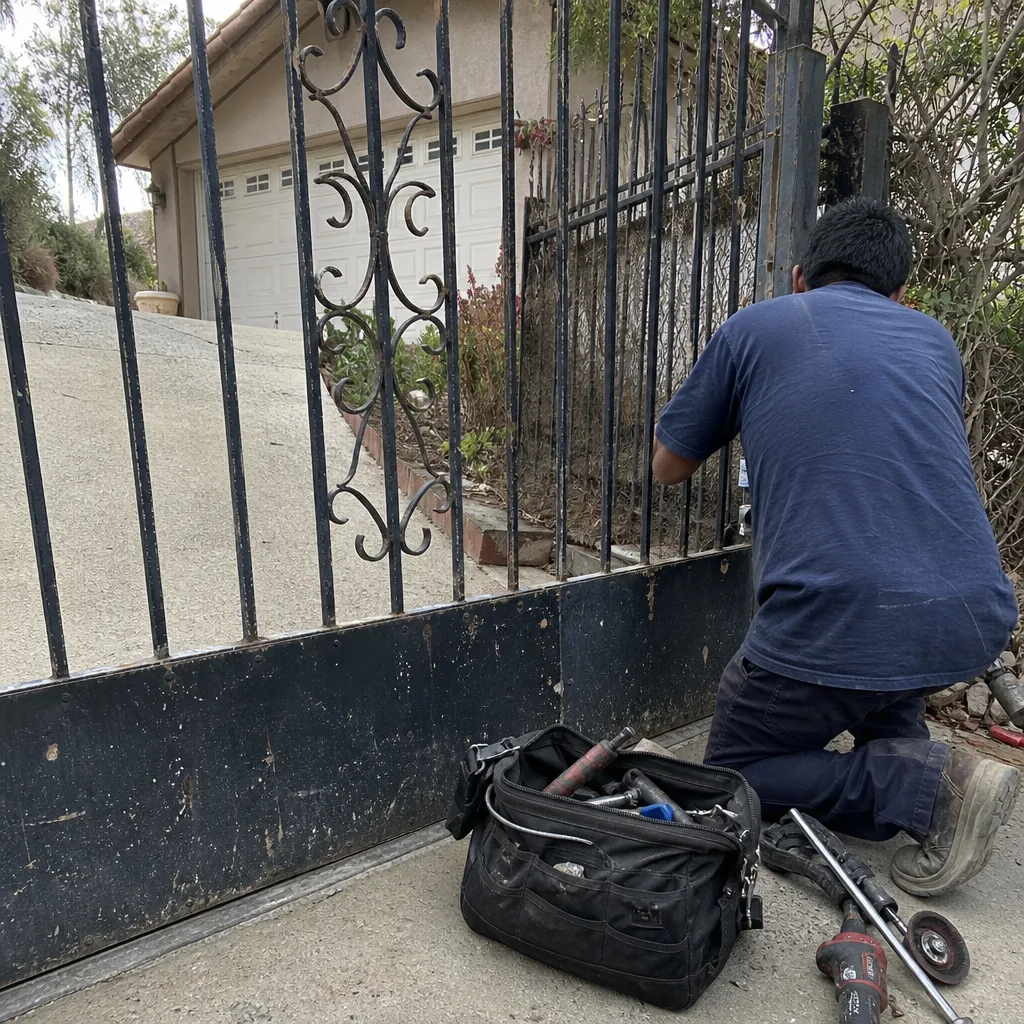 Before
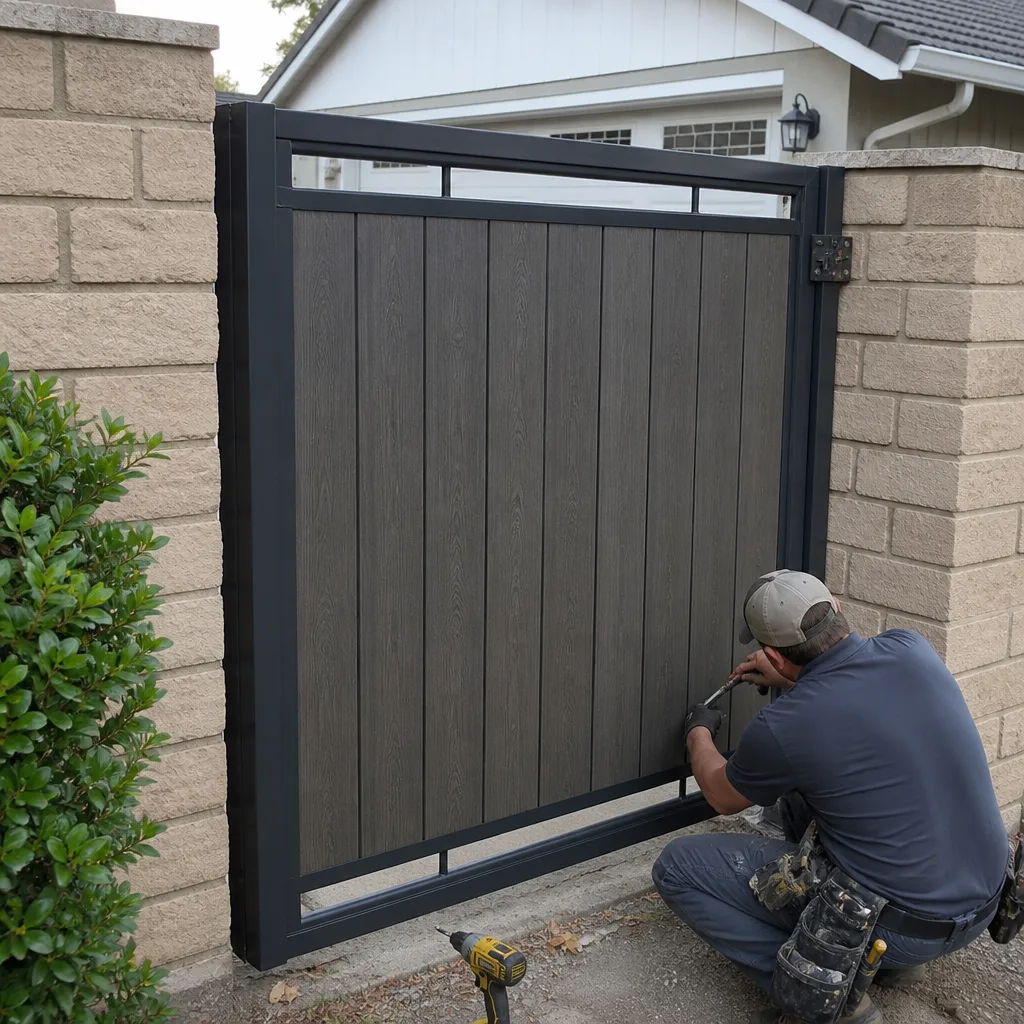 After
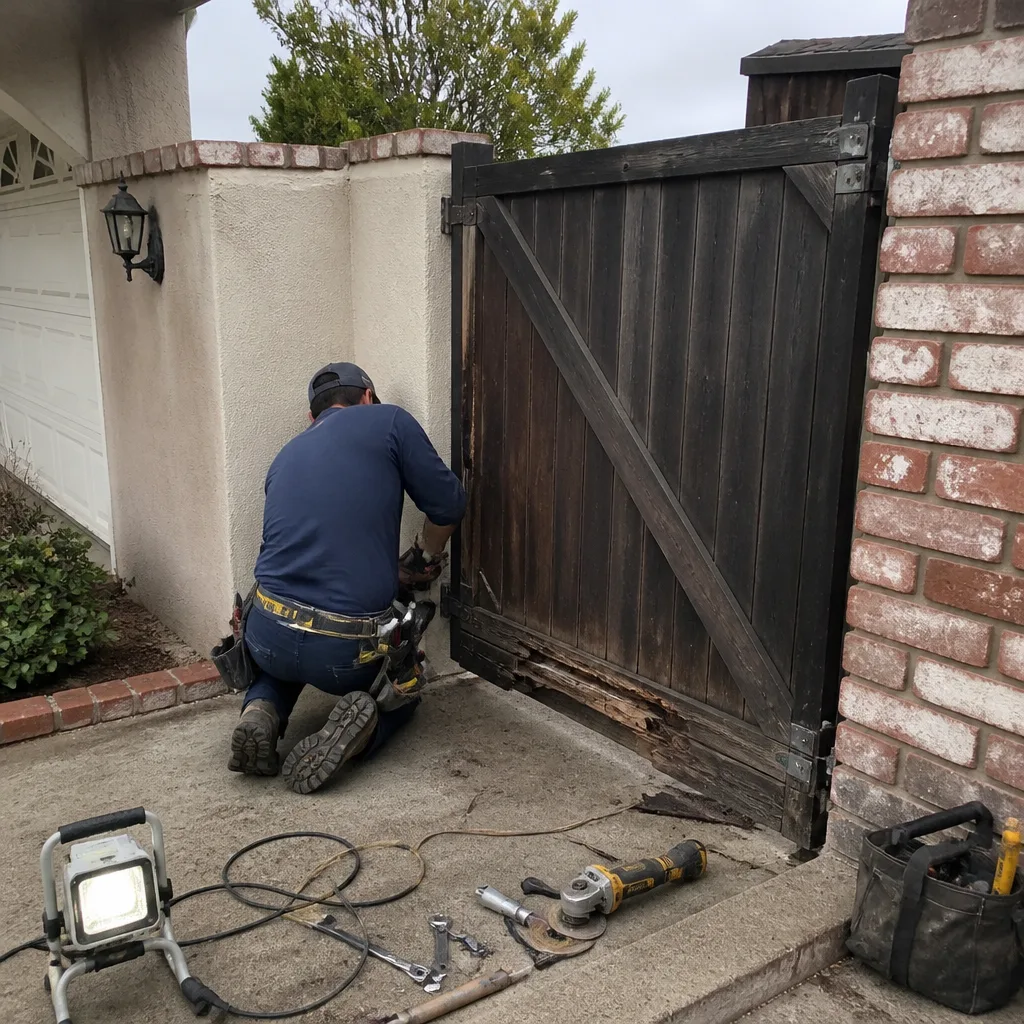 Before
 After
 Before
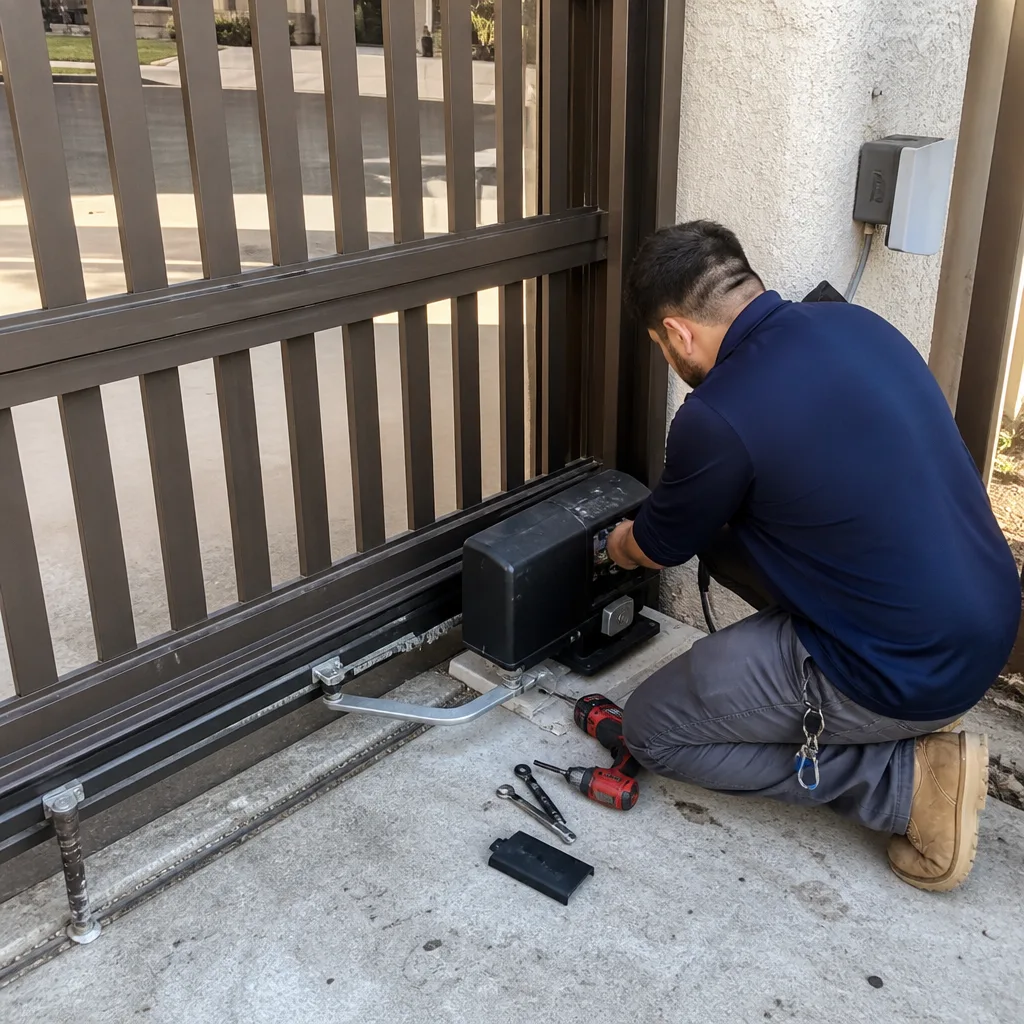 After
When to Call a Professional
If your gate won’t respond after you’ve checked power, sensors, and the manual release, the failure is either in the control board, the motor, or the buried loop. Those aren’t guesses you make from a YouTube video or our more guides & resources. A failed control board needs a brand-specific replacement and programming. A motor that’s burned out from mechanical drag needs the underlying drag corrected or the new motor will fail too. A broken ground loop needs saw-cutting and rewiring under concrete.
Gate Repair Mission Viejo offers free estimates in Mission Viejo – call (866) 562-1205 for a diagnostic visit. Our technicians work on all nine major brands – LiftMaster, FAAC, BFT, Linear, Viking, Ghost Controls, DoorKing, Elite, and Mighty Mule – and carry common replacement parts for each, which means most repairs are completed same-visit, not “we’ll order the part and come back.”
Frequently Asked Questions
A gate that opens halfway and stops is seeing either an obstruction signal from the photo eyes or a limit stop that’s out of position. If the photo eyes are clean and aligned, check the limit switches – on many Linear and Ghost Controls operators, the mechanical stops drift over time and tell the board the gate’s “open” position is earlier than it actually is.
Turn off the circuit breaker for the gate for 60 seconds, restore power, and run a full open-close cycle using the push button (not the remote) so the board can re-learn its limits. If the gate still won’t operate, record any blinking error code on the board before doing another reset – the code tells you what failed. Call (866) 562-1205 for help interpreting it; estimates are free.
That’s a ground loop detector failure. The loop wire buried in your driveway isn’t detecting the vehicle anymore, usually because driveway concrete shifted and snapped the wire. Crisis note for Mission Viejo: our dry heat and occasional tremors move concrete. If the gate opens on remote but not on vehicle approach, the loop is the likely fault – and the repair involves saw-cutting and rewiring, not a new control board.
Gate repair in Mission Viejo typically ranges from $175 for a simple sensor realignment or limit adjustment to $800-and-up for a motor or control board replacement. Photo eye replacements run about $200 to $350. Loop detector replacements with driveway saw-cutting average $500 to $900 depending on driveway width. Every repair is quoted in writing before work starts – call (866) 562-1205 for a free estimate on your specific gate.
In most cases, yes. Because our technicians carry parts for nine specific brands – LiftMaster, FAAC, BFT, Linear, Viking, Ghost Controls, DoorKing, Elite, and Mighty Mule – we typically complete repairs on the first visit rather than scheduling a follow-up after ordering parts. Emergency repair calls in Mission Viejo are usually dispatched within hours. Call (866) 562-1205 to check today’s availability.
No. A gate that’s reversing erratically, moving slowly, or cycling without a clear pattern has lost reliable safety-system input. The risk is that the gate closes on a vehicle, a pet, or a person because the sensor that would normally stop it isn’t registering properly. Disengage the operator using the manual release, use the gate manually, and schedule a diagnostic before re-engaging the motor.
We service all major residential and commercial gate brands, with certified working knowledge of nine: LiftMaster, FAAC, BFT, Linear, Viking, Ghost Controls, DoorKing, Elite, and Mighty Mule. We’re brand-agnostic – meaning we’ll repair the operator you have rather than pressure you into switching brands – and our technicians carry common failure parts for each of these systems on the truck. See our Electric Gate Repair in Mission Viejo page for specifics.
The Bottom Line
Gate troubleshooting has a correct order: safety verification first, symptom diagnosis second, power cycling last. Check the photo eyes and loop detector before you replace a remote battery. Record error codes before you reset the board. A slow gate is a future failure, a reversing gate is a current failure, and a gate that won’t open for your car but works on the remote is a buried loop, not a control board. In Mission Viejo, where heat, irrigation, and shifting concrete stress gate systems differently than coastal climates, knowing which problems are mechanical, which are electrical, and which are environmental saves money and time. When the diagnosis is beyond what you can see from the driveway, call (866) 562-1205 for a free estimate – and have those error codes written down before we arrive.
Written by the team at Gate Repair Mission Viejo, serving Mission Viejo since 2011.